How to Choose the Right Bolt and Screw for Your Project
Choosing the right fastener starts with the joint, not the hardware aisle. A Bolt Screw that works in a dry pine shelf may fail in a vibrating steel bracket. Material, load, moisture, and access all matter. Small parts. Big consequences.
Fastener engineer J. H. Bickford’s work on bolted joints offers a useful guiding principle: “Choose a fastener by understanding the joint it must hold, not by appearance alone.” This is a practical summary, not a verbatim quotation. It points to the questions worth asking: Will the connection carry tension, shear, or both? Could vibration loosen it? Will the screw’s threads suit the wood, sheet metal, or tapped hole? A shiny finish cannot answer those questions.
This guide will help you compare bolt and screw types, materials, sizes, thread styles, and drive heads. You will also see why length matters: too little engagement can weaken a joint, while an overly long screw may emerge through the other side. Check the product specifications and the equipment maker’s guidance when loads or safety are significant. A torque value is not universal; coatings, lubrication, and joint materials can change the result. Even careful selection has limits. Real materials vary, and a neat chart cannot inspect your workpiece. Use these points to make a sound choice, then verify the fit before relying on the connection.
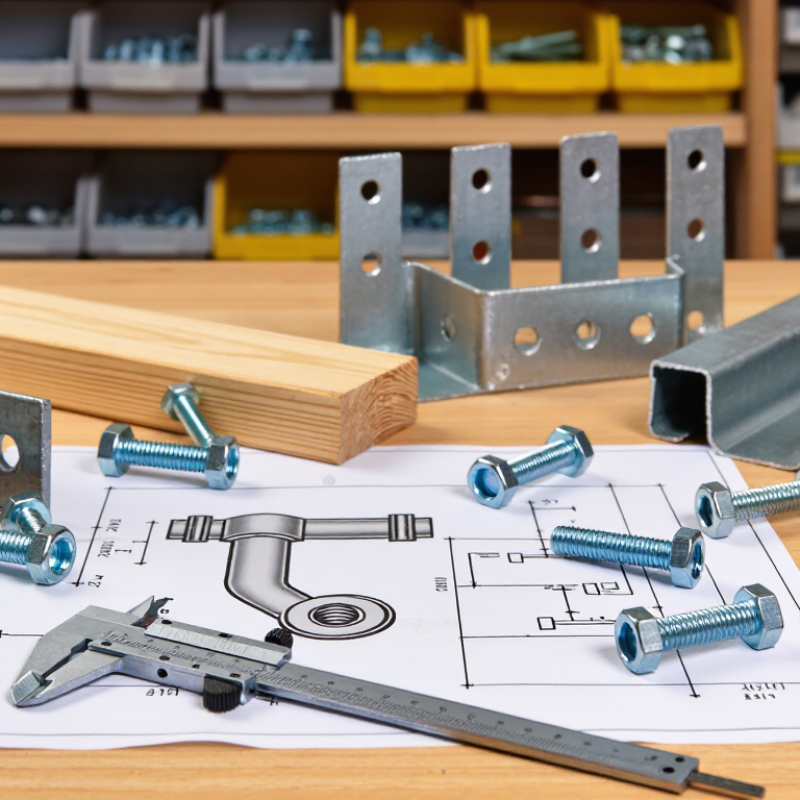
Identify the Project’s Load, Materials, and Environment
Before choosing a bolt or screw, identify what the joint must hold. A shelf carrying books has a different load from a bracket that vibrates or moves. Consider weight, direction, and sudden forces, not just the object’s mass. Check the fastener’s rated capacity and the project’s design guidance. Do not guess.
Next, match the fastener to both materials. Wood screws need suitable threads and a pilot hole sized for the wood; a hole that is too large can weaken the grip. For thin sheet metal, thread shape and material thickness matter. In a masonry surface, use an anchor designed for that substrate. I have seen people focus on fastener length and overlook what it is biting into. That detail deserves a second look.
The environment matters, too. Moisture, salt, chemicals, and temperature changes can cause corrosion or affect joint performance. In damp areas, choose a corrosion-resistant fastener compatible with the connected materials; dissimilar metals can create problems in some conditions. Check the product specifications rather than relying on appearance. A bright finish is not proof of suitability. If the joint is safety-critical or the load is uncertain, ask a qualified professional to review the design before installation.
Understand the Differences Between Bolts and Screws
Bolts and screws both have external threads, but their usual fastening methods differ. A bolt typically passes through clearance holes and is tightened with a nut. A screw usually turns directly into a tapped hole or the material itself. The naming can be messy. Some standards and industries use the terms differently, so inspect the joint rather than relying on the label.
For a practical check, look at the parts being joined. A bracket with a through-hole and nut usually calls for a bolt; a threaded hole in a machine housing often takes a screw. Thread dimensions matter, too. ISO 261 specifies a 1.0 mm coarse pitch for an M6 thread and 1.25 mm for M8. Match the thread, diameter, length, and material to the joint. NASA’s Fastener Design Manual, RP-1228, also explains how thread geometry and friction affect fastener loading. That is why tightening torque alone is an imperfect guide to clamp force. A small washer, soft material, or rough surface can change the result. Check the design requirements, and verify fit before assembly.
Choose a Suitable Fastener Material and Finish
How to Choose the Right Bolt and Screw for Your Project
Choose a Suitable Fastener Material and Finish
Choose the fastener material for both the load and the environment. Carbon steel offers strength for many indoor projects, but moisture can lead to rust. Stainless steel resists corrosion in damp settings, though it is not automatically the strongest option. Brass suits some light-duty or electrical applications, but check its load limits. Salt air changes the choice. Also consider the parts being joined: dissimilar metals can corrode where they touch, especially when moisture is present.
Tips: Match the finish to exposure. Zinc-plated fasteners are common for dry interiors; hot-dip galvanized options may suit outdoor use. Check the product specifications, since coatings and materials vary. Keep threads clean, and avoid mixing metals without checking compatibility.
It is easy to focus on strength and overlook finish. That can mean a rusty fastener months later, or a coating that wears during installation. Check whether the fastener will contact treated wood, chemicals, or standing water. For a visible project, consider how the finish looks beside the surrounding hardware. When failure could cause injury or damage, use fasteners that meet the project’s specified grade and consult reliable technical guidance. One detail is often missed: the right material still needs a suitable size and head style.
Match Fastener Size, Thread, Head, and Drive Type
A fastener that looks close can still loosen, split the workpiece, or refuse to seat. Start with the material and the job: a small cabinet hinge needs different hardware from a bracket carrying repeated vibration. Check the diameter and length against the part, not just the old screw. For many screws, length is measured from the underside of the head; countersunk heads are measured from the top. A few millimeters matter.
Thread choice affects grip. Coarse threads usually bite well into wood and softer materials, while machine threads need a matching threaded hole or nut. Match the thread diameter and pitch exactly. If a bolt turns roughly or binds early, stop; forcing it can damage the threads. Fit matters. I still see people compare only the outside diameter and miss the pitch, an easy mistake to make.
Choose a head that sits properly and gives enough clearance. A pan head stands proud, while a countersunk head can sit flush in a suitable countersink. The drive type should match the tool you have and the access angle. A deep, cleanly fitting driver reduces slipping, especially when fastening overhead. Check twice. If the head cams out during a test fit, reconsider the drive, tool size, or installation angle before tightening further.
How to Choose the Right Bolt and Screw for Your Project
Match fastener size, thread, head, and drive type. The chart compares nominal diameter with standard coarse-thread pitch for common ISO metric sizes.
Select a diameter and length that suit the joint, then choose a thread compatible with the material and mating part. Pick a head shape that fits the available clearance and a drive type that can be reached with your tool.
Check Compatibility and Installation Requirements
Before choosing a bolt or screw, check the parts it must join. Measure the hole diameter and thread pitch; matching nominal sizes alone is not enough. A coarse-thread fastener may not engage correctly in a fine-threaded nut. Check length, too: it should grip securely without bottoming out or protruding into moving parts. Small differences matter. For wood, confirm the screw suits the material and expected load. For metal, verify thread type and clearance. If the components have specifications, follow them rather than guessing from appearance.
Material compatibility matters as much as fit. Moisture, outdoor exposure, or contact between dissimilar metals can accelerate corrosion, so select suitable materials and coatings. Check the head style and drive recess against the available tool access; a tight corner can make an otherwise compatible fastener difficult to install. Use the specified pilot-hole size, washer, or torque value when provided. Too little clamping can leave a joint loose, while excess torque can strip threads or crush softer material. Keep the parts aligned. For critical or load-bearing joints, follow the equipment or engineering instructions, and ask a qualified professional if details are unclear. I would recheck usable length after adding washers or brackets; that small detail is easy to overlook.